How to install java JDK in a system?

Installation of JAVA JDK
For Installation of JAVA JDK in a system, First choose an operating system for installation i.e. Microsoft Windows, Mac, Linux, Solaris, etc.
Then search in your browser i.e. download JDK. Here the website of Oracle.com is indexed so using this site simply go to the download for your respective operating system.
Now download the latest version of JDK from Oracle.com for your respective operating system.
Here is another thing you need to remember before downloading the JDK kindly check your system that is 32-bit or 64-bit and then download accordingly.
Then click the installation link it will take you to a popup window. Then accept the License Agreement of Oracle Java SE and click on download.
After the completion of downloading JDK, you have to run the .exe file to start the installations. And then start the installation by clicking on next.
Then choose the PATH where you want to install it. And then click on next.
And then after installation click on Close.
After that installation, to run the java program you need to set the environment variables PATH and CLASSPATH. PATH and CLASSPATH both go under environment variable. Where the system can find the .exe files it is defined by PATH and to specify the location of .class files CLASSPATH is required.
So the PATH is a system variable that is used to locate executable files. PATH Variable can be set using System Utility in the control panel.
How to set PATH variable in Windows 10 and Windows 8?
Step 1: In search, search for Environment Variable,
Step 2: Find the PATH environment variable and then select it, Here click Edit, and if the PATH environment variable does not exist then click on new.
Step 3: In the Edit System Variable window, specify the value of the PATH environment variable. Then click OK.
Verification setup
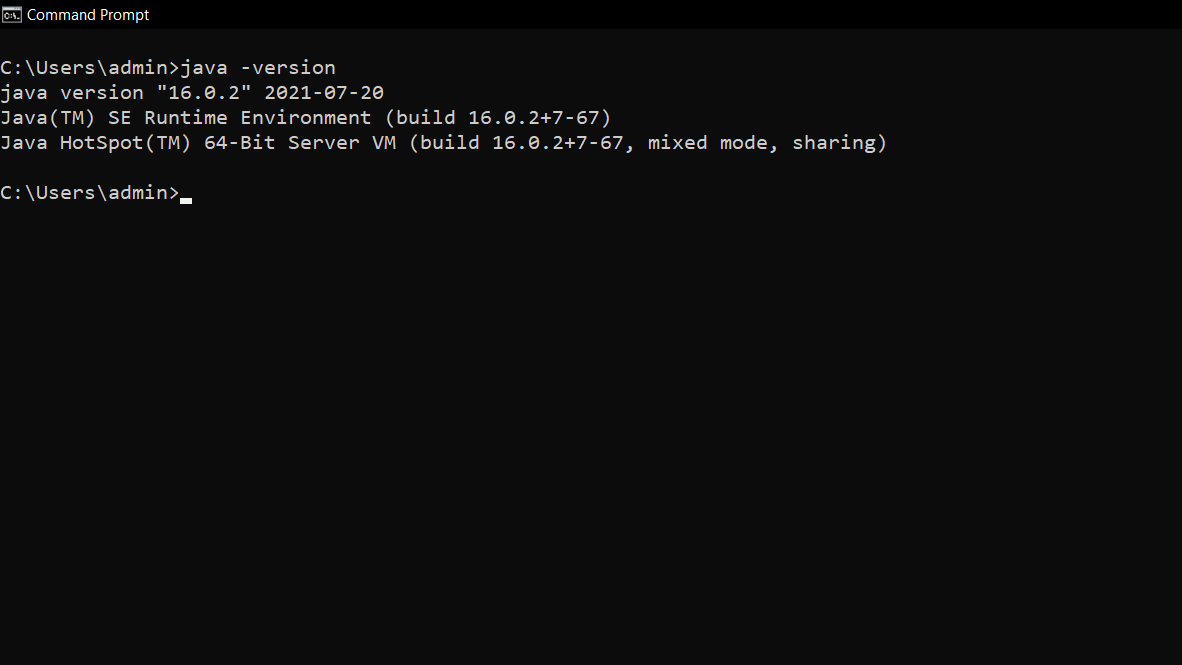
All the above process is completed then verify if it is working properly or not by checking the Java version on the command prompt.
To check the version of java you have to open the command prompt first and then simply write the ‘java -version‘ and then press Enter button.

Here if the version of java is shown then the installations are completed successfully.
Installation of IDE

Integrated Development Environment (IDE)
IDE stands for the Integrated development environment is a software that provides basic tools like an editor, compiler, and debugger to develop applications. It is a software that provides the facility to write and debug the java program easily and smoothly.
There are most IDEs that have features like highlighting of syntax and auto-completion of code which helps programmers to write code easily. IDEs typically provide a compiler, code editor, interpreter, and debugger. Java IDEs also include language-specific elements such as Ant and Maven like build tool and TestNG and JUnit Testing.
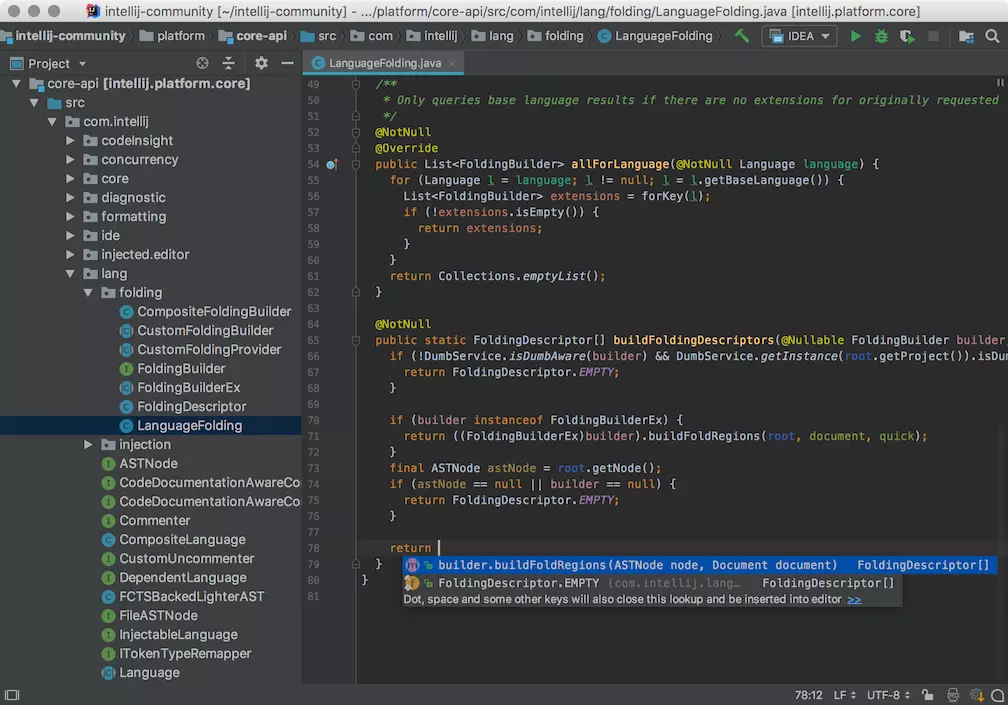
Java has various IDE such as IntelliJ IDEA, Eclipse, NetBeans, MyEclipse, Greenfoot, DrJava, Xcode, BlueJ, JDeveloper, JCreator, etc. IntelliJ IDEA is famous for its Java Integrated Development Environment. All the necessary tools required for application development and testing are available in IntelliJ IDEA. One of the best perks of using IntelliJ IDEA is its user-friendly user interface(UI).


